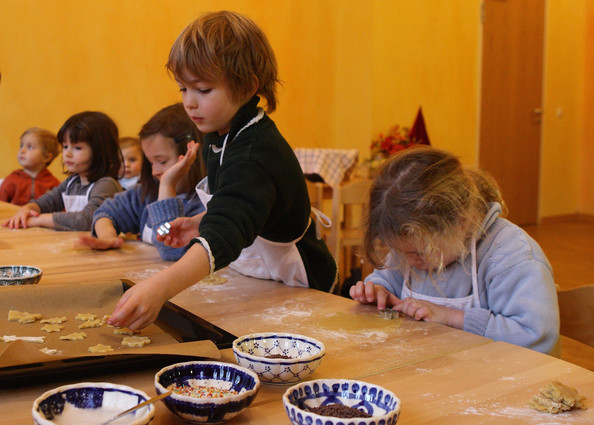
Cookie Time!
Science and Technology (Tools and Technology)
An activity for preschoolers
|
Materials
The instructions for this cookie dough came from Learning4Kids (http://www.learning4kids.net/2011/10/01/easy-cookie-dough-recipe/):
"-300g softened butter -1 cup icing sugar -3 cups plain flour -Baking Paper -Cookie cutters" You will also need: -extra bag of flour -mixing bowls -wooden spoons -mixing cups -rolling pins -cookie sheets -garbage bags -masking tape -scissors Modifiers/Scaffold
For an easier challenge:
-Have the children mix pre-made cookie dough -Instead of rolling out the dough and cutting out shapes, have them take the cookie dough in their hands and roll it into balls. For most children: -Ask, "What will happen when we put the cookies in the oven?" and "Why do you think we put butter in our cookies?" For a trickier challenge: -Use a more advance cookie recipe (an example would be the basic Tollhouse cookie recipe: https://www.verybestbaking.com/recipes/18476/original-nestle-toll-house-chocolate-chip-cookies/) -Instead of using cookie cutters, have the children roll the dough into different letters and numbers. Follow-up Ideas
-You can make this activity more interesting by allowing students to incorporate different ingredients into their cookies, including M&M's, chocolate chips, sprinkles, and food dye.
-During snack time, you could also bring out frosting and candies that the children can use to decorate their cookies. Give them tools like plastic spoons and forks to scoop the frosting out of the jar. -For a Halloween themed science activity, use hammers and golf pins and have the children smack golf pins into a pumpkin. You can also open the pumpkin up with the children and have them help you separate the seeds and bake them for a delicious and healthy snack! |
Originating Idea
For this activity, I wanted to use tools that my students would come into contact with on a daily basis. Not everyone has a wood shop in their home, and not every child is going to ave a lot of construction tools in the house, but every child is going to have or encounter a kitchen at some point in their lives! In addition, I think this is a great way to get kids excited about cooking and give them skills that will last them a lifetime.
How to Make It
You cover the table with garbage bags, securing them down with the masking tape. Then you place all the mixing bowls and wooden spoons on the table. Then separate all the ingredients into separate mixing cups for each student to use. Finally, cut up the baking paper so there's one large sheet per child and a long sheet to place on each cookie sheet.
How to Implement It
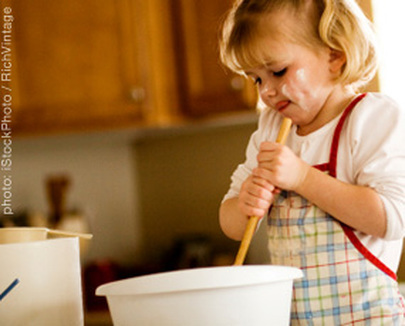
During small group time, have the children sit down in front of their bowls. The teacher says, "Okay group, today we're going to make a tasty treat: cookies! Lets first pour all the ingredients into your bowl and then mix it up! Watch me!" The teacher can demonstrate how to do this. Then say, "Now, you try it!" Once the children have done this, pull our the sheets of baking paper and place it in front of each student. Then the teacher has the students dump their mixture on the baking paper, grab their rolling pins, and start rolling out their dough. The teacher may have to demonstrate how to do this for the earlier students. Then, let the children cut out their cookies with the cookie cutters, and place their cookies on the cookie sheets.
Most children should be able to use these tools with ease. Earlier children may need some help mixing their ingredients together. Later children will be able to mix all the ingredients more thoroughly and quickly. After all the children have had a turn with this activity during small group time, take the cookie sheets to the oven in the kitchen and bake them. Then, during afternoon snack time, bring the cookies out and let the children eat them for snack. |
